I love handprint and footprint keepsake crafts. I made sure I had a handprint from both of my kids when they were little. So I wanted my granddaughter’s presents to her parents this Christmas to be handprint and footprint keepsake ornaments. I had helped Zoey make a special keepsake handprint craft for Mother’s Day, but I wanted to add ornaments as well. Shhh! If you know Will or Chea, don’t tell!
Disclosure: This post contains affiliate links (at no cost to you).
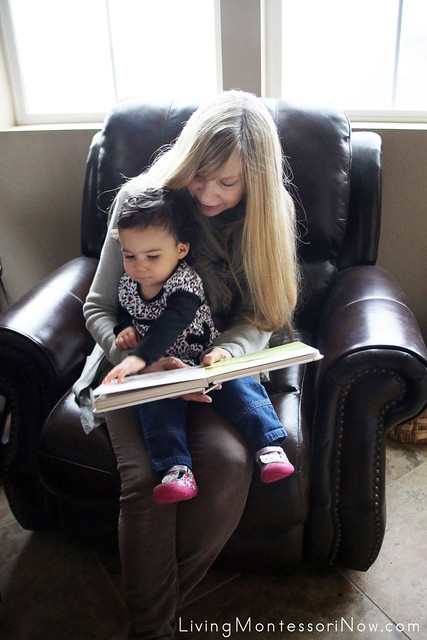
This post is part of 10 Days of a Kid-Made Christmas featuring 70+ ornaments inspired by books. My book inspiration is one of Zoey’s and my favorite books for babies: Ten Little Fingers and Ten Little Toes by Mem Fox (Illustrated by Helen Oxenbury), a sweet book about babies around the world.
Creating a Handprint or Footprint Keepsake Ornament for a Baby or Toddler
Deciding on a Kit, Clay, or Homemade Dough
You’ll find different challenges when trying to create a handprint or footprint ornament depending on the age of your baby or toddler. Young babies keep their hands closed, which presents its own challenge. You can find some tips for getting a baby handprint in my post about creating a handprint keepsake for Mother’s Day, Father’s Day, or Grandparents Day.
With clay ornaments, it’s a bit different from a painted handprint, so I read a lot of posts about creating ornaments along with reviews of various ornament kits. I didn’t want to use marshmallow clay after reading that it shrinks and warps when it’s baked. The best things I seemed to read were for Sculpey clay and cornstarch clay. I wanted an ornament that would end up white without painting it, so I chose to try both a purchased kit (the Sculpey Clay Handprint Keepsake Ornament Kit) and baking soda/cornstarch clay. You really don’t need a kit. You could just use Sculpey clay and the directions below.
My baking soda/cornstarch clay ended up being a craft fail. I was concerned about not getting it too hard, so I didn’t cook it long enough. It was too runny, and I didn’t have time with Zoey around to read what to do to correct it when it was already cooled. I realized that this could be a great option, but buying premade clay or a kit is a perfect option for anyone who isn’t terribly comfortable preparing homemade craft recipes … or anyone who doesn’t have time to fiddle with getting the recipe perfect. I knew that cornstarch ornaments could crack if not prepared correctly, so I just went with the kit in the end.
Steps for Making a Handprint or Footprint Ornament Using a Kit or Clay (Either Premade or Homemade Clay)
We did the handprint one day and the footprint another day, although Zoey didn’t mind doing either one. The kit didn’t contain enough clay for both a handprint and footprint, so I had to buy more clay.
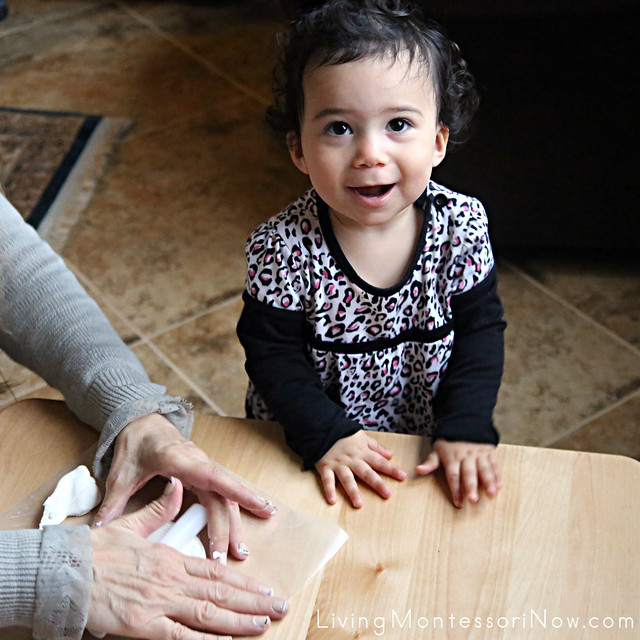
Be sure to start with clean hands and work surface. Clay tends to show everything. Use either wax paper or aluminum foil on top of your table or counter for all work with the clay.
1. Knead the clay for 2 minutes. You want it to be very soft to get a good impression without hurting your baby or toddler.
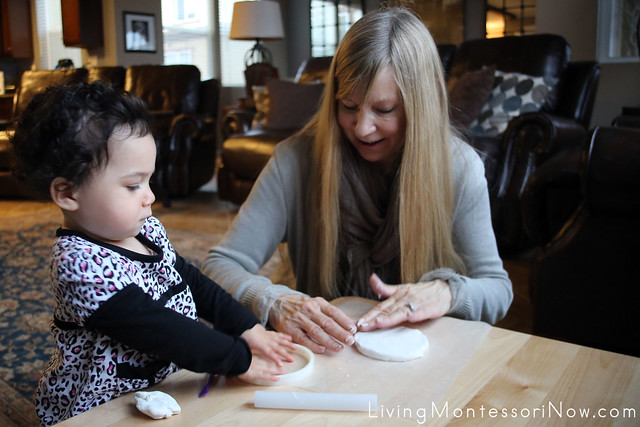
2. If you’re using the kit, form a smooth ball and place the clay in the middle of the ring. Flatten it with your hand until it fills the ring. Then, using the roller, roll the clay (still in the ring) until it’s smooth and even. If you aren’t using a kit, just roll out the clay using a rolling pin until it’s a little over a centimeter thick.
3. From the bottom of the ring, gently push up on the sides of the clay until it’s released from the ring. If you’re not using a kit, press down on the dough with a glass, cup, or bowl that is the right size for your baby or toddler’s handprint or footprint to fit inside. Then remove the glass, cup, or bowl. (The ring wasn’t large enough for Zoey’s foot, so I used a large cup for that.)
4. Wash and dry your baby or toddler’s hand or foot. (You can also use this for a pet’s paw.)
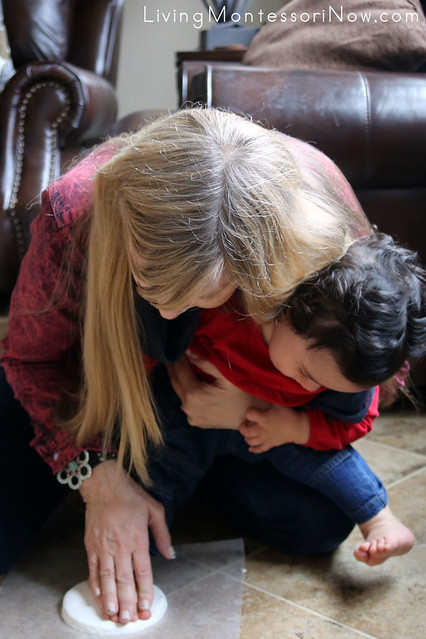
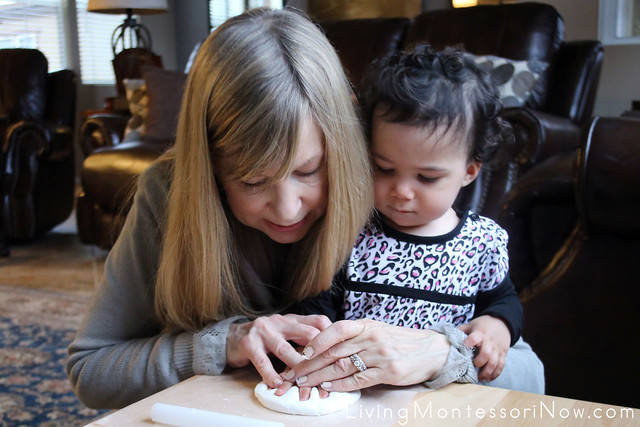
5. Press your baby or toddler’s hand or foot firmly into the clay.
6. Use the pointed end of the detail tool that came with the kit to make one or two holes at the top of the ornament for hanging. If you’re not using the kit, you can do the same thing with a drinking straw. I checked, and it makes holes just as well.
7. If you want to write the baby or toddler’s name with the tool, do that now. I tried it on the handprint ornament but didn’t like how it looked. I had to press it out, which didn’t make for the smoothest ornament. So it’s best if you decide beforehand if you want to etch the name and date or write it on with a Sharpie.
8. Put ornament on a baking sheet and bake for 30 minutes at 275 degrees F (130 degrees C).
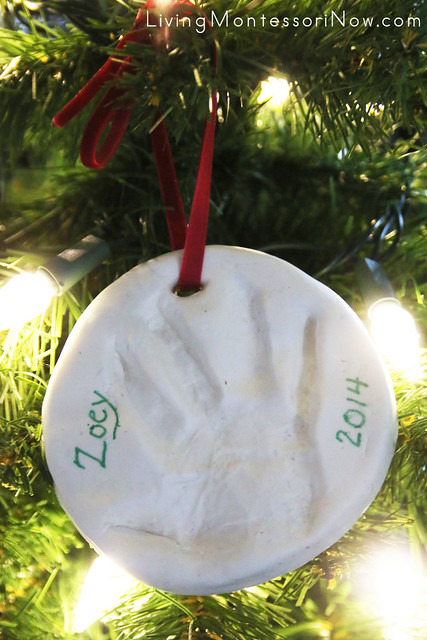
9. Remove from oven and cool before adding the ribbon. I used a red velvet ribbon instead of the one that came with the kit.
8. If you’re writing the name and date with a permanent marker, do that once the ornament is cooled. I was excited to find a Sharpie Water Based Paint Glitter Pen. You can’t see the glitter as much in the photo, but I really like how it looks.
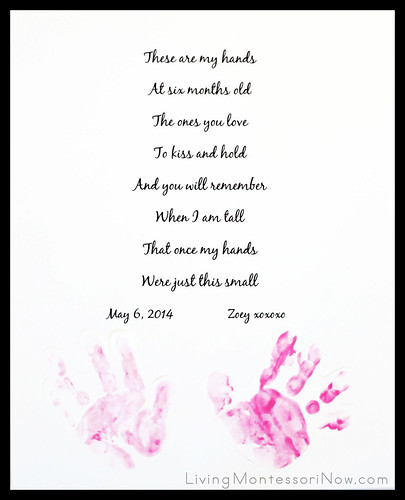
If you’d like to make a framed handprint keepsake for the wall, I have tips and a free printable poem for making a baby or toddler handprint keepsake.
Montessori-Friendly Ornaments, Cards, and Wrapping Paper Kids Can Make
See all our Montessori-friendly Christmas ornaments, cards, and wrapping paper kids can make here.
10 Days of a Kid-Made Christmas: Ornaments Inspired from Books
Thanks so much to Melissa Klinker of Mama Miss for organizing this amazing series of 70+ kid-made ornaments inspired from books!
Linky with all the ornament posts as they’re published:
Have fun creating ornaments with your kids (or grandkids) this Christmas season!
If this is your first time visiting Living Montessori Now, welcome! If you haven’t already, please join us on our Living Montessori Now Facebook page where you’ll find a Free Printable of the Day and lots of inspiration and ideas for parenting and teaching! And please follow me on Instagram, Pinterest (lots of Montessori-, holiday-, and theme-related boards), and YouTube. While you’re here, please check out the Living Montessori Now shop.
And don’t forget one of the best ways to follow me by signing up for my weekly newsletter. You’ll receive some awesome freebies in the process!





The hand-print & foot-print are adorable Deb – & how perfect to have a book to go with it too!!
I have to make one of these for my 1 year old- it’s funny how I had the time and energy and consciousness to make similar handprints with my 4 older kids, and then in the hustle and bustle, I haven’t done it yet with my baby! Eek- this is a great reminder, and I love how simple and classic yours looks!
This was one of my absolute favorite books to read to our twins when they were babies and toddlers. What a great ornament pairing idea.
Love this! I think this is going to be a nice keepsake for the girls grandparents.
So sweet! It is an ornament to be treasured!
What a cool idea! Wish I had discovered it before Christmas. Anyway, I will remember it for the next holiday season.