Making a learning activity into a game can add a lot of interest. Because of that, I started to add a math game spinner to the monthly subscriber packs at Living Montessori Now. You can easily prepare a game spinner using the printable spinner, a brad, and a paperclip. And it will spin easily if you follow a few simple steps.
Disclosure: This post contains some affiliate links (at no cost to you).
How to Make a Paperclip Spinner That Spins Easily
In the monthly packs since July 2017, you’ll find a 1-5 spinner and a 1-10 spinner, which can be used for a variety of activities at a variety of levels. All of the latest packs include 1-5 and 1-10 spinners that can be used for any theme, so you can use them with an earlier pack that doesn’t include a spinner page. (Some of the packs include themed images on the 1-5 and 1-10 spinners. After I realized it was a hassle to print out and put together a new spinner for each new theme, I designed spinners that can be used with any theme.)
If you sign up for my weekly newsletter, you’ll get access to my exclusive subscriber library with 27 Montessori-inspired packs (and a new pack each month). You’ll find spinner printables in the subscriber library.
1. After printing out the spinner on cardstock, cut it out or laminate if your spinner will get a lot of use. (For a classroom or a lot of homeschool use, cut out the spinner first, laminate, then cut out again leaving a laminate edge of ¼” or so. For home use, you typically can laminate the printable page and then cut out the spinner on the lines.)
2. It helps if you make a small hole in the center of the spinner to make it easier to push the brad through. You can use the sharp point of a scissor or another tool.
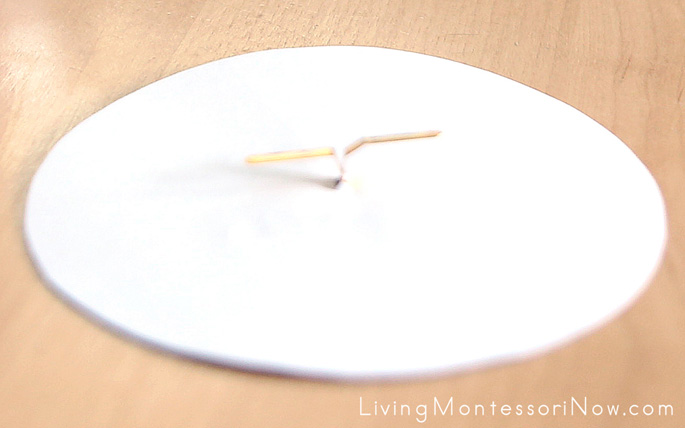
Put a brad through the spinner and fold it back, leaving ½ inch or so between the top of the brad and the fold.
3. After you put the brad through the spinner, fold it back. But don’t fold it all the way to the spinner. Leave ½” or so between the top of the brad and the part of the brad where you fold it back.
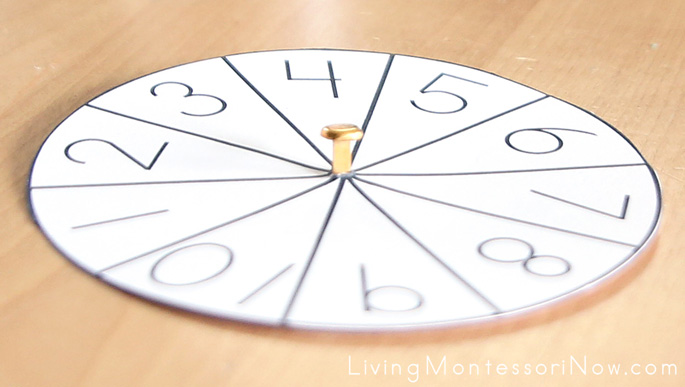
Pull the unbent part of the brad through to the top of the spinner.
4. Turn the spinner over and pull the unbent part of the brad through so the ½” of the unbent brad shows.

Put the paper clip over the brad to attach it to the spinner.
5. Place the paper clip over the brad to attach it to the spinner. You can use the spinner just like this. I’ve often done that! (I use a smaller paper clip for the 1-10 spinner and a larger paper clip for the 1-5 spinner.)
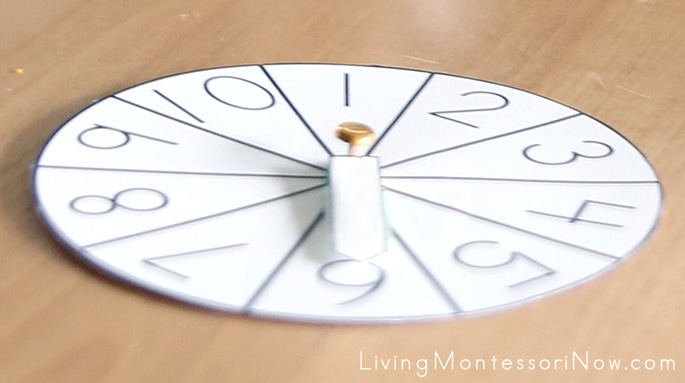
If you wish, tape or hot glue an arrow to the paper clip for a more finished look.
6. Optional: tape or hot glue the arrow from the page to the paper clip. I used to tape the arrow to the paper clip. I just realized I could use my hot glue gun to permanently glue the arrow it to the paper clip. It worked perfectly! Now I easily have 1-5 and 1-10 spinners available for any math game that could use them.
Using a Paperclip Game Spinner for a Variety of Math Games
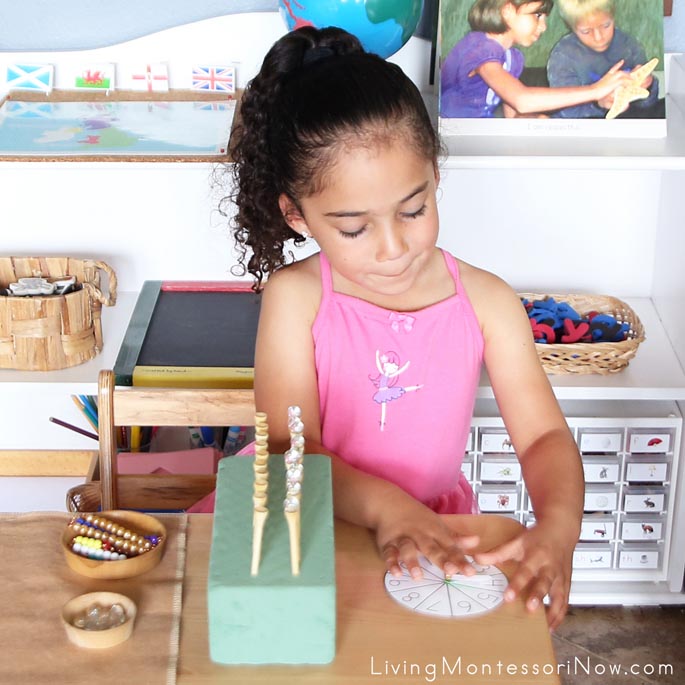
Using a Paperclip Game Spinner
This is a sneak peek at one of the activities in my post tomorrow with free themed printables and Montessori-inspired activities. This activity uses the 1-10 game spinner that’s now in each of my monthly subscriber freebies.
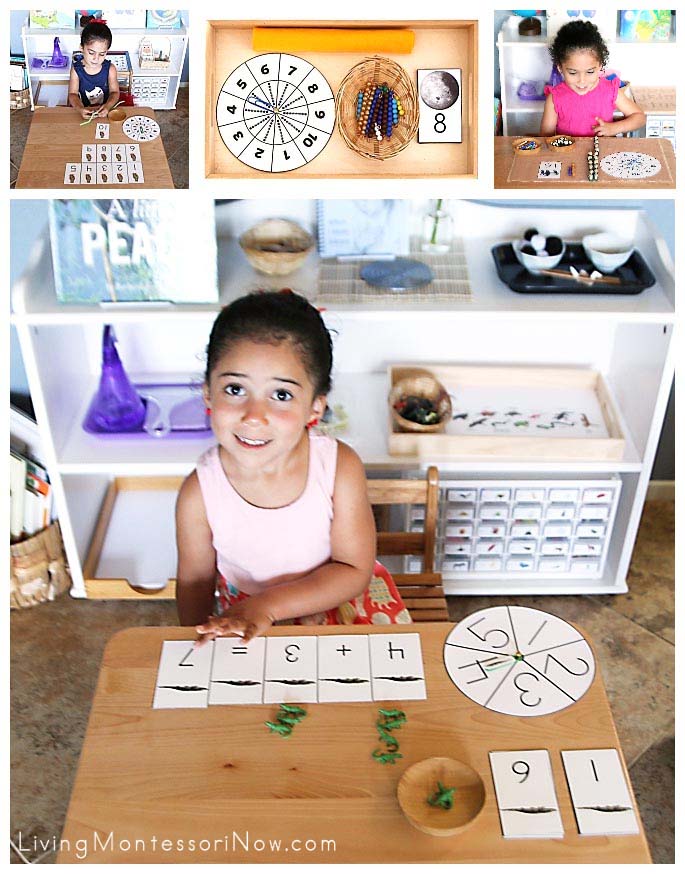
A Few Montessori-Inspired Math Activities Using Paperclip Spinners
Activities Pictured from the Following Posts:
- Montessori-Inspired Owl Unit with Free Printables and Activities
- Free Moon Printables and Montessori-Inspired Moon Activities
- Free Panda Printables and Montessori-Inspired Panda Activities
- Montessori-Inspired Alligator Unit with Free Printables and Activities
It’s fine to make learning activities into games. You can create different cooperative games or games that can be played one child or with multiple ages. Just have fun! 🙂

Learn more about my eBook Montessori at Home or School: How to. Teach Grace and Courtesy!
If this is your first time visiting Living Montessori Now, welcome! If you haven’t already, please join us on our Living Montessori Now Facebook page where you’ll find a Free Printable of the Day and lots of inspiration and ideas for parenting and teaching! And please follow me on Instagram, Pinterest (lots of Montessori-, holiday-, and theme-related boards), and YouTube. While you’re here, please check out the Living Montessori Now shop.
And don’t forget one of the best ways to follow me by signing up for my weekly newsletter. You’ll receive some awesome freebies in the process!



Leave a Reply