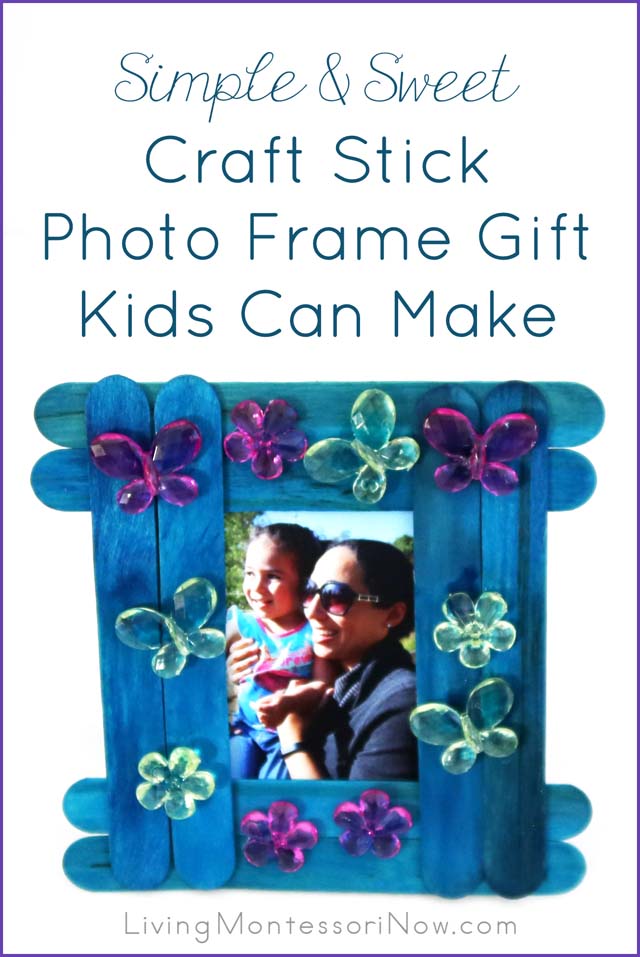
Shhh! Don’t tell Zoey’s mom! My 2½-year-old granddaughter, Zoey, made her Mother’s Day gift yesterday, and it turned out so cute! I love how inexpensive, simple, sweet, and versatile a craft stick photo frame is. And it’s the type of gift a mom will treasure forever! Of course, this isn’t just a great gift for Mother’s Day … it’s perfect for Father’s Day, Grandparent’s Day, a special person’s birthday, Christmas, Teacher Appreciation Day … any time you need a heartfelt, handmade gift.
Materials Used for Craft Stick Photo Frame Gift
I actually had all the materials from other projects, so I didn’t need to buy anything once I had my photo. That’s the nice thing with kid projects … once you have a few basic supplies, you can put together lots of activities and crafts.
Disclosure: This post contains affiliate links (at no cost to you).
- Mother/daughter photo from our recent trip to the zoo printed on soft-gloss photo paper (Typically, it’s best to go with the same brand paper as your printer.)
- Colored Jumbo Craft Sticks
- Acrylic Gems (I had some from a couple of years ago, so I’m not sure if they’re still available. You can find a wide variety of fun acrylic gems on Amazon or at a craft store.)
- Aleene’s Turbo Tacky Glue for attaching craft sticks and backing (You could use another glue, although I liked how quickly this dried and how well it held from our tactile nature letters.)
- Clear Gel Tacky Glue from Aleene’s Trial Tacky Pack
Steps for Making a Stand-up Craft Stick Photo Frame Gift

Craft Stick Photo Frame Gift for Mother’s Day
You can make craft stick photo frames that attach to the refrigerator with a magnet or hang on the wall. I wanted to make one that my daughter-in-law, Chea, could put on her desk.
1. First, I printed out a fun photo of mother and daughter watching the elephants at the San Diego Zoo. I printed it out at 3½x5″ for this particular frame.
2. Because Zoey’s only 2½, I glued the craft sticks together to make a frame. An older child could do the gluing, too. If you’d like other ways to glue the sticks, check out the craft stick photo frames at FirstPalette or Eighteen25. You could use paint or washi tape to decorate natural-wood craft sticks. To keep it simple for a 2½ year old, I used the colored craft sticks.

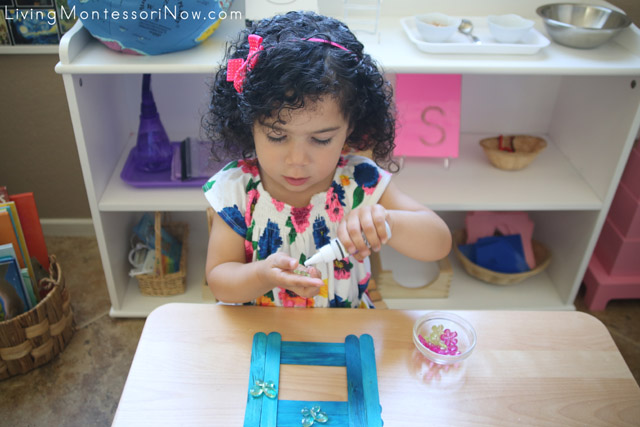
Gluing Acrylic Gem Flowers and Butterflies on Craft Stick Photo Frame
3. Glue acrylic gems (or whatever you prefer for decorations) to the craft stick frame. Zoey loved using the trial-size glue bottles to glue on the gems. Like a true Montessori child, though, she had to glue on the gems, take them off again, and repeat. I simply turned over the frame for her to repeat her gluing work. Glue is needed to attach the photo, so it works well! The gel glue was very forgiving of a toddler’s gluing work, so I was happy I used that. It did take a bit of time to dry, but we still were able to complete the project in one afternoon.

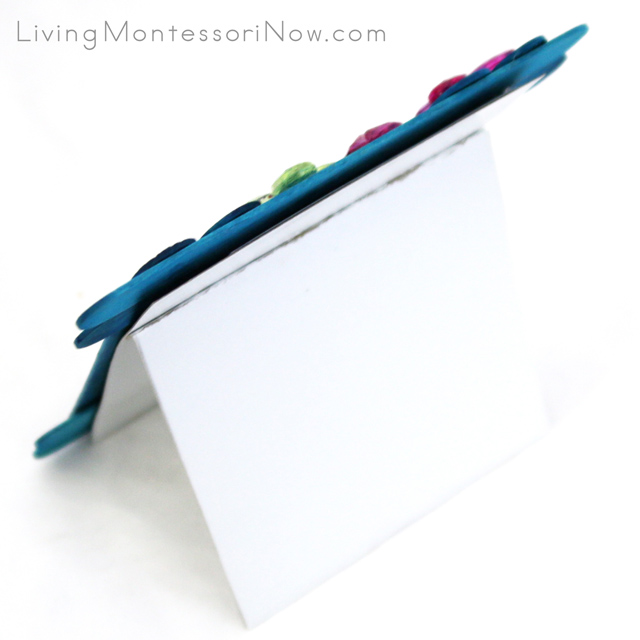
Back of Craft Stick Photo Frame
4. Attach photo to back. Then, cut out a piece of cardboard (I used the cardboard sheet from a package of photo paper) that’s a bit smaller than the frame for the backing. Glue to the back. I doubled up another piece of the same cardboard and made a stand for the frame. You can see similar directions at First Palette.
5. Write a special message on the back of the frame. I used a Sharpie to write a Mother’s Day greeting from Zoey for her mom. Obviously, an older child could write his or her own message.Then Zoey used a Sharpie to write her own message. She drew a sweet picture and spontaneously told me what it was, so I put her words in quotes next to her drawing. From my training as a preschool teacher, I don’t ask a child what his or her picture is. I might ask the child to “tell me about your picture.” I like to add the child’s words in quotes to make an extra special gift.
I love that this is so simple and adaptable for a variety of ages and gift-giving occasions!
And I can’t wait to see Chea’s response! 🙂

The Montessori at Home! eBook and Montessori at Home! eBook and Materials Bundle are AMAZING resources! You can learn more about them here. Buy them in the Living Montessori Now shop.
If this is your first time visiting Living Montessori Now, welcome! If you haven’t already, please join us on our Living Montessori Now Facebook page where you’ll find a Free Printable of the Day and lots of inspiration and ideas for parenting and teaching! And please follow me on Pinterest (lots of Montessori-, holiday-, and theme-related boards), Instagram, and YouTube. You can find me on bloglovin’ and Twitter, too.
And don’t forget one of the best ways to follow me by signing up for my weekly newsletter. You’ll receive some awesome freebies in the process!


This is such a fun creative craft. I bet the kids love seeing there creations.
These are so adorable and simple! I love them.
Have you linked up at #everythingkids this week? We love everything kid and family related and pin it all 🙂
We love everything kid and family related and pin it all. Beautiful blog !!!!
Good info. Lucky me I reach on your website by accident, I bookmarked it.