I had never thought about making Montessori number rods until I discovered some amazing examples online. For a homeschool, I would probably purchase the regular-size pink tower, brown stair, and red rods to give the child an accurate sensorial impression of size. Of course, if you’revery crafty, even those can be made by hand.
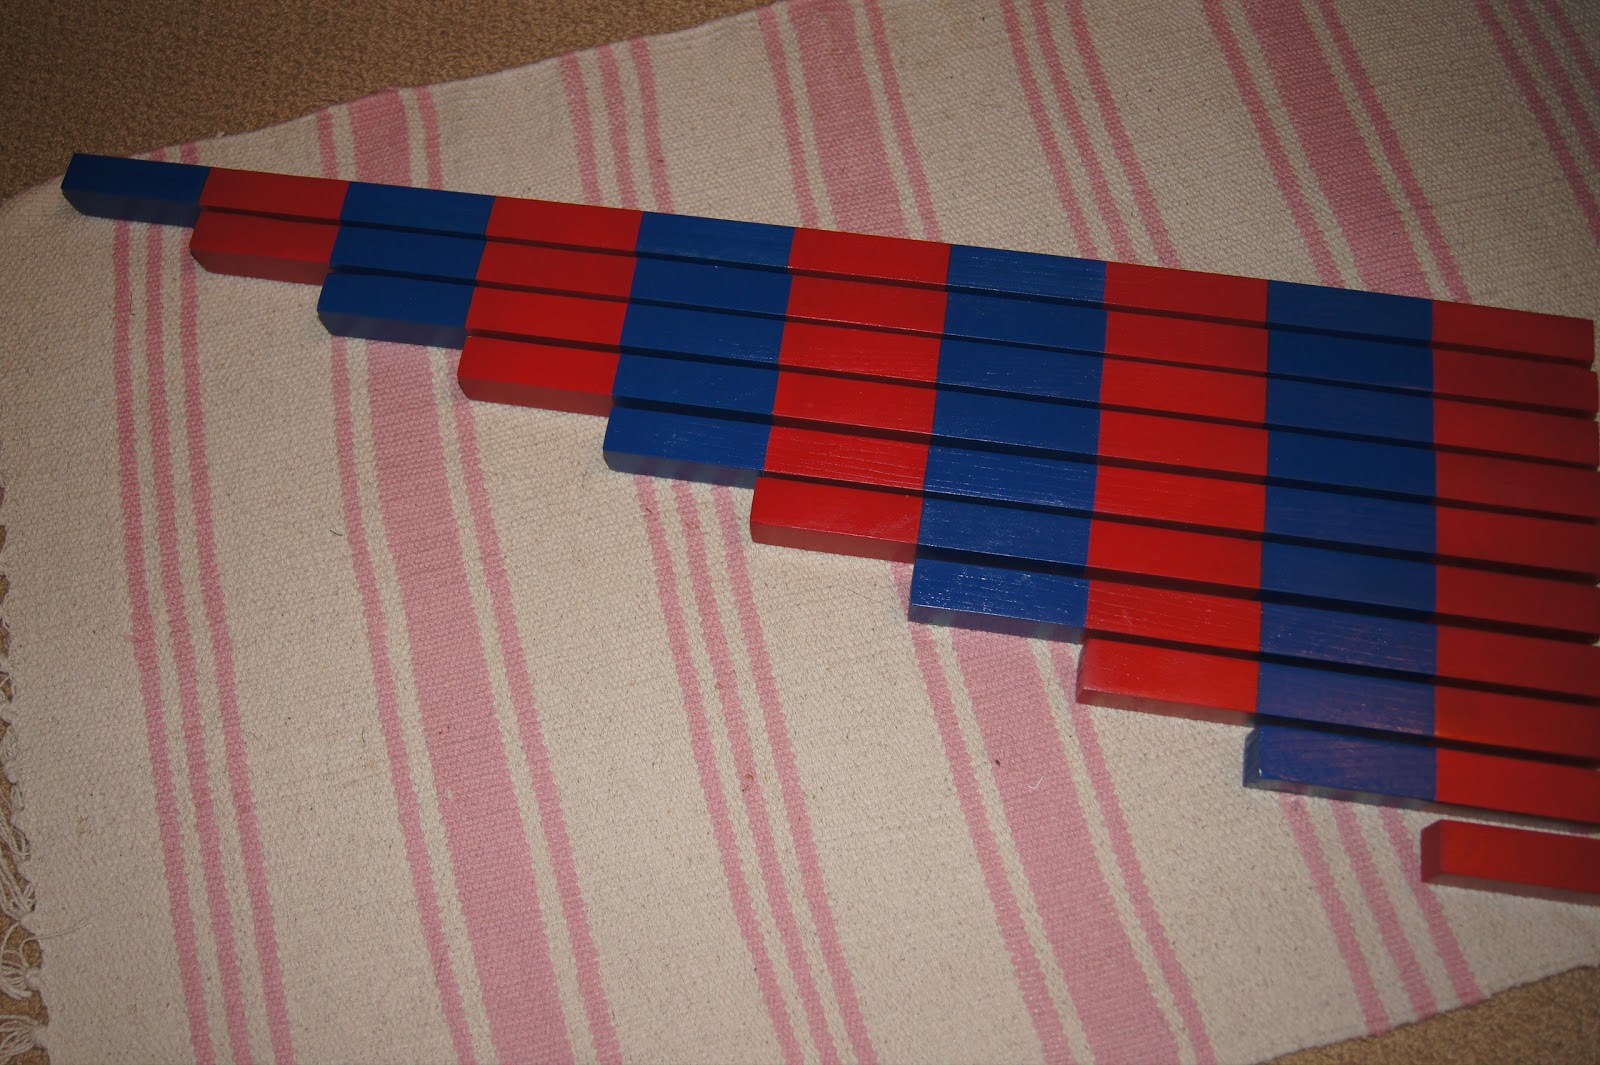
But I don’t think following the traditional Montessori number-rod size is as important. There are many different options that work well for number rods. There are some inexpensive options for small number rods or very inexpensive versions of DIY number rods. If you want yours to look like the traditional Montessori number rods, number rods won’t be an easy material to make. But there are tutorials for beautiful handmade versions of the traditional materials and for some amazingly simple alternatives that could be used for a homeschool.
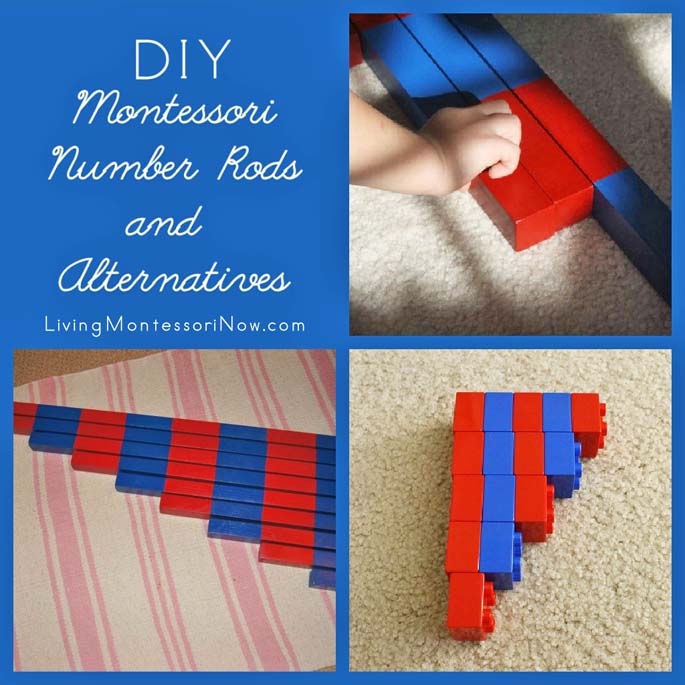
DIY Montessori Number Rods and Alternatives
Making Montessori Ours made traditional wooden number rods with number cards from wood ply and red vinyl numbers.
Maybe Montessori made wooden number rods with red and natural-colored wood sections.
Montessori MOMents made traditional Montessori number rods of solid oak (top right picture in the collage). The blog is no longer available.
A Handmade Childhood made wooden number rods with red and natural-colored wood sections.
Earth Friendly Mama made number rods from a Jenga game.
Julie from The Adventures of Bear at Totally Tots has Duplo number rods.
Montessori Print Shop has a free printable that can be used to make a small printable version of number rods.
Number Rod Presentations and Extensions
Montessori Primary Guide has a presentation for number rods and cards.
The Adventures of Bear has an extension matching number rods to various number cards.
I have a post with a list of all my DIY roundup posts: DIY Montessori Materials. For an intro to Montessori math activities: Montessori Math Activities.

If this is your first time visiting Living Montessori Now, welcome! If you haven’t already, please join us on our Living Montessori Now Facebook page where you’ll find a Free Printable of the Day and lots of inspiration and ideas for parenting and teaching! And please follow me on Pinterest (lots of Montessori-, holiday-, and theme-related boards), Instagram, and YouTube. You can find me on bloglovin’ and Twitter, too.
And don’t forget one of the best ways to follow me by signing up for my weekly newsletter. You’ll receive some awesome freebies in the process!


Love when folks share simple DIY approaches for materials! We never used ours much (but likely will), however, like others have done, I made them from Lego bricks. We have also made temporary ones with unifix cubes.
On another note, I’d love a tutorial on how you make your wonderful post button pictures with the photos and words. What programs do you use? I always have to take forever to upload pics from my camera, resize them using microsoft, upload them to my blog, etc. If I add in making anything fancy, I use picasa 3, which takes me even more time and figuring. I know there has to be an easier, more time-economical and hair-saving (as in not pulling mine out) way. Please share if you have time to do so. Thanks!
Thanks so much, Martianne! I’m happy to share how I make my collages. I took a Blogathon mini-challenge in July about using PicMonkey to make collages. I have links to the mini-challenges that I took (and are still available) at http://raisingfigureskaters.com/2012/06/25/how-i-improved-my-blogs-in-one-weekend-summer-2012-blogathon/. I use what I learned in the Google Calendar mini-challenge all the time, too.
With PicMonkey, I could add the text in once the collage is saved, but I tend to add text in with My Memories software (review here: https://livingmontessorinow.com/2011/08/16/rated-my-memories-software-giveaway/) or Paint Shop Pro because I have more fonts available on those. I hope that helps! 🙂
Thank you for sharing and including us!! Xander loved the rods, as does Ava:))
This is such a fantastic central source of information!!
My pleasure … and thanks for your kind comment, Cherine! I wish I were half as handy as you are with DIY materials. Your DIY materials are always an inspiration! 🙂
We are using the Number Rods a lot around here right now. Love all the creative ways to found to make them. Thank you.
Thanks so much, Discovering Montessori! I was amazed to find so many different ideas online … lots of creative mom bloggers! 🙂
I like the roundup of all different links for making number rods. However, as a strict Montessorian, I have to say that number rods which do not have 10cm segments are not TRUE number rods. Making them from duplos or making them half-sized or making them from paper you lose the intent of the rods. The base 10 part of Montessori is key to developing solid mathematical skills. Pink tower is in base 10, Brown Stair is in Base 10 as is number rods and so many other great Montessori activities. When true Montessori materials are rigged up without regard to the WHY they are they way they are, you do lose some of their value.
Thanks for your comment, Dorothy! That’s an excellent point about base 10 and Montessori math. I support the use of alternatives to Montessori number rods because of the unique problems homeschoolers face in having a Montessori classroom.
Typically, space and budget don’t allow homeschoolers to have every material. My hope is that their children will gain enough of the base 10 part of Montessori from the pink tower, brown stair, and red rods that they can use an alternative for the number rods if necessary. Of course, many homeschoolers have chosen to make or buy traditional-size number rods, which is wonderful. Unfortunately, that just isn’t possible for everyone. I really love seeing parents do what they can to bring Montessori education into their children’s lives. 🙂
Hi Deb, This is the perfect solution. You have shared so many options to choose from. I enjoyed going through them. LOVED the lego red rods. Thank you so much for the links.
Thanks so much for your kind comment! I hope one of the ideas works well for you! 🙂
We bought a set of cuisenaire rods and love them. My son is 5 and he plays with them all the time. He came up to me one day and said “Mommy, do you know that the yellow rod is half the size of the orange?” Wow! Fractions just from playing! Love them and plan to use them for years with him.
Thanks for your comment, Wendy. I love hearing stories like that! Hands-on learning is awesome for the connections kids can make! 🙂
I never would have thought to make or use materials on hand (such as Lego’s) to make the cuisenaire rods! Thank you for linking up to my Enchanted Thursdays Blog Hop this week!
Thanks, Jill! Very few homeschoolers have the time or money to make or buy all the Montessori materials … and I love when they come up with such creative options! 🙂
I always use Lego as well. Makes it more fun as well.
Thanks for linking to the Sunday showcase
Thanks for your comment, Rebecca! I agree that Legos are a more fun way. For most homeschoolers, they (or something similar) are the way to go! 🙂