We had so much fun with our magnet unit that I wanted to continue the magnet work even during our new unit. So I prepared a fishing-with-magnets sensory bin for more learning fun with magnets. I even found free printable letter, number, color, and shape fish that work perfectly for the sensory bin. I already had my DIY sensory table and magnets, so it was easy to set up.
Disclosure: This post contains affiliate links (at no cost to you).
DIY Sensory Table
I love the DIY sensory tables my daughter-in-law, Chea, and I put together in September 2015! Zoey has one at her home and one at my home. They have different themes and activities.
To put together the DIY sensory table, we used the directions for “The $30, 30-Minute, Do-It-Yourself Sensory Table” from A Teaching Mommy. Ours cost a bit more than $30, although the price will vary according to where you get PVC pipe. We were able to get our PVC pipe at Lowe’s. We didn’t want to cut pipe and were lucky that the guys at Lowe’s were willing to cut it for us. Chea and I just turned all the PVC pipe sides with writing to the bottom and back.
I found the specified storage container for the sensory tables at Walmart.
The sensory table is designed to be disassembled. We found it best to hammer the pieces together after assembling the table to avoid having the table collapse. So ours are more permanent, which is fine. I have a sensory table available at all times on my balcony or next to my balcony door. Zoey is absolutely in love with sensory bins/tables!
Fishing with Magnets Sensory Bin – YouTube Video
Zoey is TOO CUTE … as usual. I love her excitement about life and hands-on learning activities!
Music from Mega Music Monkey.
Fishing with Magnets Sensory Table

Fishing with Magnets Sensory Table
Materials Used for Fishing With Magnets Sensory Bin {Free Printable Letter, Number, Color, or Shape Fish}

Magnet Sensory Bin with Magnet Fishing Rod, Magnetic Objects, and Magnetic Letter Fish
- white rice from the Dollar Tree
- blue food coloring or liquid watercolor
- DIY sensory table (I totally love this. It’s been very durable and the perfect container for our sensory bins. Of course, you can use a bin on the floor.)
- stainless steel measuring cup
- magnetic objects (see magnetic objects in my magnetic/non-magnetic activity)
- seashell dish for magnetic objects (The stainless steel shell dishes were from Montessori By Mom but are out of stock right now.)
- Magnet fishing rod (I used a magnetic wand from one of the Melissa and Doug puzzles, but a twig with a magnet attached to the end of a string would work well, too!)
- Strainer as “net” for the letter fish
- magnetic wand from one of the Melissa and Doug puzzles
- free printable fish consonants from JDaniel4’s Mom (printed on cardstock with a metal paper clip attached to each fish)
- free fishing for letters, numbers, shapes, or colors fish printable from the Activity Mom
- If you’d like a plain fish template to make your own fish with words or any other concept, you can get a free fish template from Buggy and Buddy.
Feel free to adapt your sensory bin for your family. These are just the materials I used. If you have a toddler who mouths objects, be sure to use large enough objects or only have the sensory bin available when you are closely supervising your toddler.
How I Dyed the Rice
I typically mix my ingredients in a jumbo-sized Ziplock bag. I use approximately 2 tablespoons of water to wet each 2 lb. bag of rice and then add food coloring until it reaches the color I want. This time, I just used plain rice and food coloring to create a variety of colors of blue. Liquid watercolor can be used instead of food coloring, but I recommend food coloring of some sort if you have a toddler who might taste the rice.
Using the Fishing with Magnets Sensory Bin
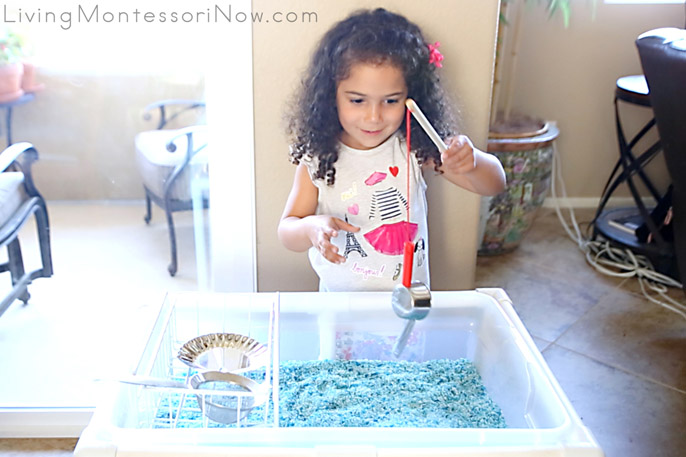
Catching a Metal Measuring Cup with Magnet Fishing Rod
I hid magnetic objects in the rice. Zoey had fun “catching” them!
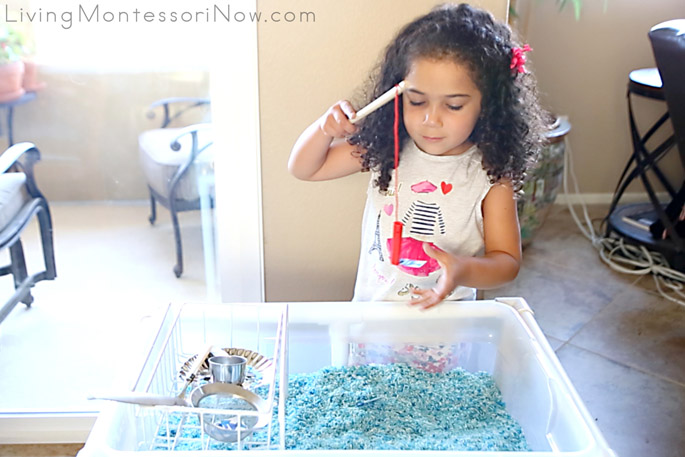
Catching a Letter Fish with Magnet Fishing Rod
I used the free printable fish consonants from JDaniel4’s Mom to add a letter sound activity. I have a post on how to teach letter sounds in case you’d like some tips.
You could use the letter fish from The Activity Mom. Her printable fish are available in letters, numbers, colors, and shapes. Both the fish printables from JDaniel4’s Mom and The Activity Mom use isolation of quality, which is an important concept in Montessori education.
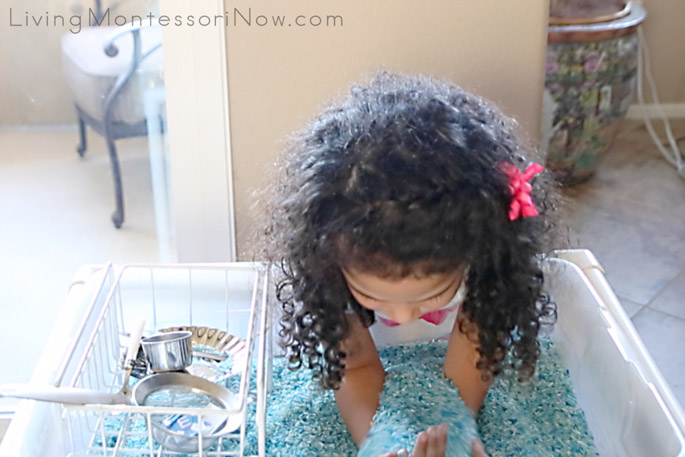
Sensory Experience with Rice
Extended Work with Magnet Sensory Bin
After a few days, I added all the magnets I had used for our magnetic unit. You could add magnetic letters or numbers or any type of magnetic objects or pictures (or puzzle pieces) to the sensory bin. Zoey loves it and works in our magnet sensory bin each day she visits.
I’d love to hear about any sensory bins you have right now. 🙂
If this is your first time visiting Living Montessori Now, welcome! If you haven’t already, please join us on our Living Montessori Now Facebook page where you’ll find a Free Printable of the Day and lots of inspiration and ideas for parenting and teaching! And please follow me on Pinterest (lots of Montessori-, holiday-, and theme-related boards), Instagram, and YouTube. You can find me on bloglovin’ and Twitter, too.
And don’t forget one of the best ways to follow me by signing up for my weekly newsletter. You’ll receive some awesome freebies in the process!




Leave a Reply