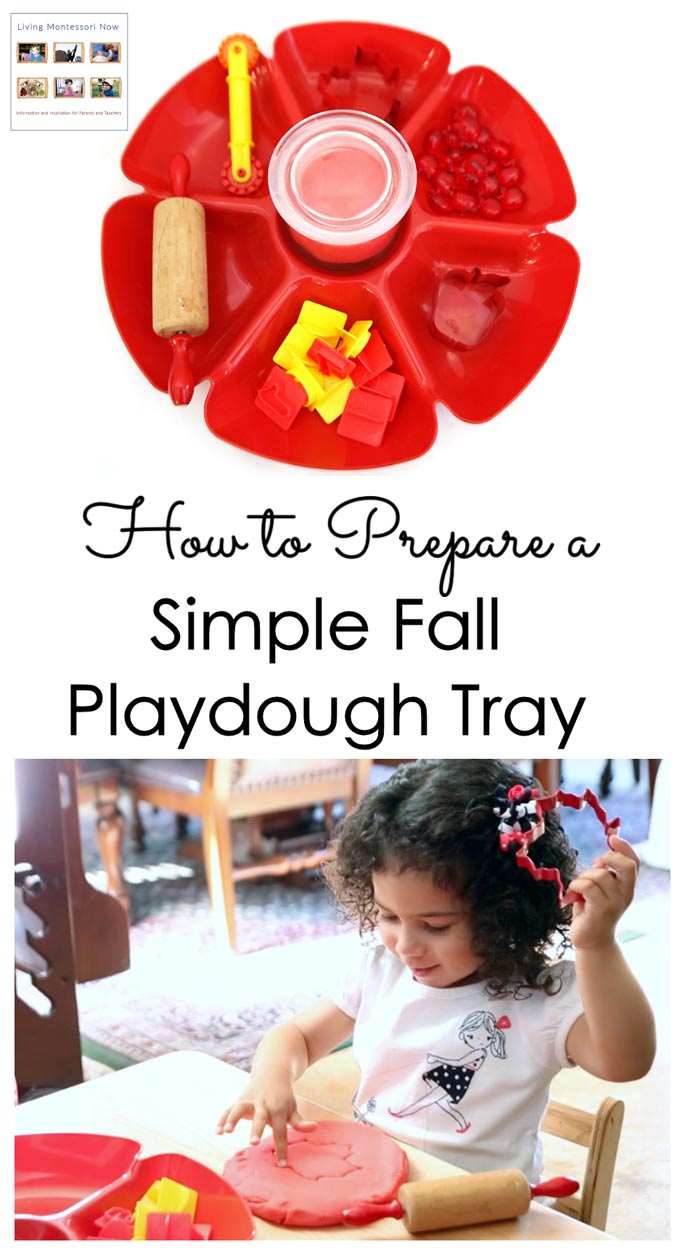
Are you looking for a fun learning activity for a toddler or preschooler (or a number of toddlers or preschoolers) at the beginning of the school year? Don’t forget the many benefits of a simple playdough tray. I like to have a simple fall playdough tray at the beginning of the school year to improve both the ability to concentrate and fine-motor skills. You can even add educational concepts like numbers or letters.
Simple Fall Playdough Tray – YouTube Video
Check out this 59-second video to see how much fun a simple fall playdough tray can be!
Materials Used for the Fall Playdough Tray
Disclosure: This post contains affiliate links (at no cost to you).
- Playdough (make traditional no-cook playdough … see recipe below, lotion playdough, or banana playdough) or buy playdough
- Divided Tray (mine was from The Dollar Tree, but you can get similar trays on Amazon)
- Play-Doh Numbers
- Fall Cookie Cutters
- Playdough Tools (such as the Melissa & Doug tools, which I often use)
- Fall Acrylic Gems(my apples were from Michaels), buttons, or beads
- 2 Cup Round Container for Playdough (fill with playdough and save remainder of playdough in a plastic bag or other container)
How to Make No-Cook Playdough
I prefer playdough recipes that don’t involve cooking on the stove. It’s less of a hassle, and young children can take a more active role in the playdough-making process.
Ingredients:
- 2 cups all-purpose flour (regular or gluten-free)
- 2 tablespoons coconut oil (vegetable oil works, too)
- 1/2 cup salt
- 1 tablespoon cream of tartar (not essential but helps the playdough last longer)
- boiling water (2 cups or less; add gradually to see how much you need)
- food color (I use Wilton gel food colors)
- a few drops of glycerine if desired for shine (glycerine is also great for making giant bubbles) Note: I omit this if making playdough for toddlers.
- add optional ingredients such as ground cinnamon (for apple pie scent), glitter, or essential oils (Note: When making playdough for toddlers, I only use safe, edible ingredients even though I don’t encourage them to eat playdough.)
Instructions:
- Mix together the flour, salt, cream of tartar, oil, and glycerin (if desired).
- Stir food coloring into the boiling water.
- Add boiling water gradually to the other ingredients.
- Stir until well mixed but still sticky.
- After cooling, knead on a cutting or pastry board until stickiness is gone (add more flour if needed).
- Knead in ingredients such as cinnamon, glitter, or essential oils.
Simple Fall Playdough Activities

Making Numbers with Playdough
Playdough molds are wonderful for making fun shapes, letter, or numbers.

Making a Maple Leaf with Fall Playdough Tray
Cookie cutters are standard playdough tools that encourage work on lots of fine-motor skills.

Making an Apple with Fall Playdough Tray
The squeezing, pressing, and molding involved in playdough work strengthens fingers and hands for writing. And adding seasonal cookie cutters and other seasonal items give young children a better understanding of seasons.
More Montessori-Inspired Playdough Activities for Fall
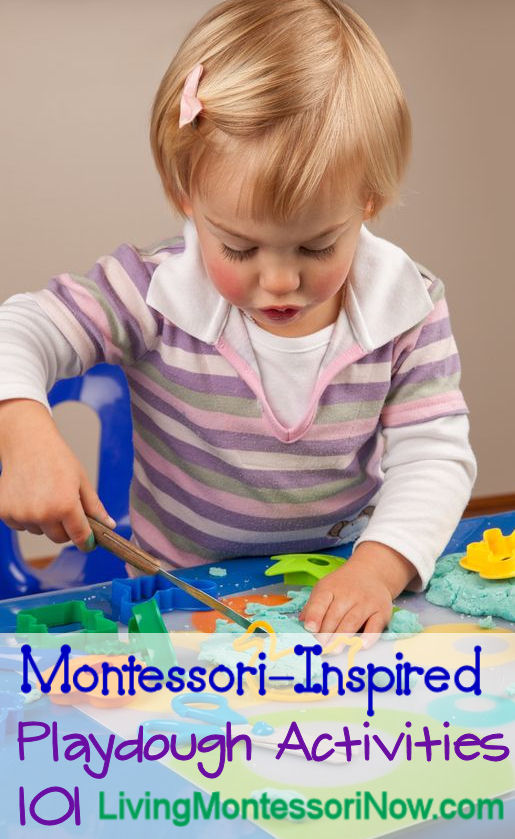
Montessori-Inspired Playdough Activities 101
Montessori-Inspired Fall Playdough Activities
Learn more about my eBook Montessori at Home or School: How to. Teach Grace and Courtesy!
If this is your first time visiting Living Montessori Now, welcome! If you haven’t already, please join us on our Living Montessori Now Facebook page where you’ll find a Free Printable of the Day and lots of inspiration and ideas for parenting and teaching! And please follow me on Instagram, Pinterest (lots of Montessori-, holiday-, and theme-related boards), and YouTube. While you’re here, please check out the Living Montessori Now shop.
And don’t forget one of the best ways to follow me by signing up for my weekly newsletter. You’ll receive some awesome freebies in the process!


This looks like such a fun time! I cannot believe I went the whole summer without making play dough for the kiddos. SHAME ON ME.
We may need to fix that this fall.
Thanks for sharing with us at #MMBH!
xo